Potato planting often fails before the ridge is made. Seed pieces that are cut too late, kept too wet, planted with weak sprouts, or moved before the cut surface firms up can lose their advantage before the plant even emerges.
The main potato growing guide covers the full crop cycle from seed pieces to trial digs. This guide stays earlier in the process: selecting seed tubers, cutting them cleanly, letting the surface heal, encouraging short sprouts, and planting before those sprouts are damaged.
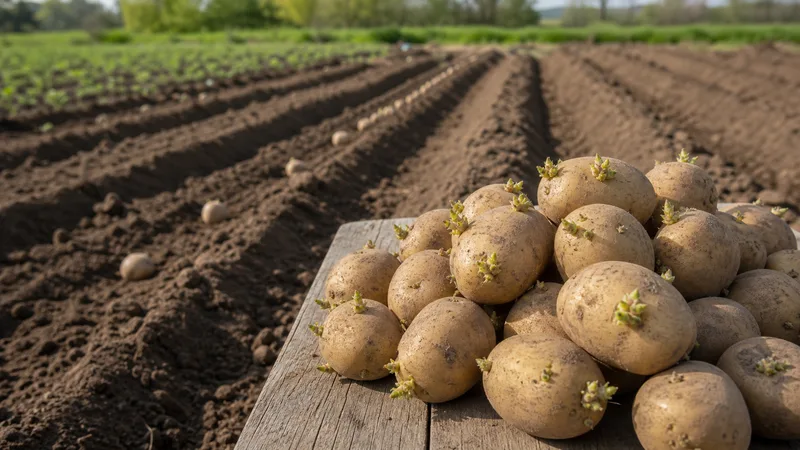
Start with seed tubers that can be sorted
Good seed preparation begins before the knife is used. Seed tubers should be firm, typical for the variety, and easy to inspect. Soft, shriveled, badly bruised, or unevenly sprouted tubers make the batch harder to manage because weak pieces do not emerge at the same speed as strong pieces.
Sorting also helps the planting crew work consistently. A batch made from similar tubers produces seed pieces with more even size, sprout strength, and moisture condition. That matters later when the field is watered, hilled, and checked for gaps.
Cut pieces for strength, not just count
Cutting is not simply a way to make more planting units. Each piece needs enough stored food, a sound surface, and one or more usable eyes. Pieces that are too small may dry quickly or push weak shoots; pieces that are too large waste seed and can rot if the cut surface stays wet.
Keep the cuts clean and avoid crushing the flesh. If the cutting surface becomes ragged or dirty, the piece loses moisture faster and is harder to heal. A steady cutting routine is usually better than rushing through the pile on planting day.
Let the cut surface firm before planting
Freshly cut seed pieces are vulnerable. They need a short curing period in a ventilated, shaded place so the cut surface can dry slightly and form a firmer layer. The goal is not to dehydrate the seed; it is to make the surface less wet and less easily damaged during handling.
If seed pieces are piled too deep, kept in still humid air, or exposed to hot sun, the curing period can do harm instead of good. Spread the pieces shallowly, protect them from direct heat, and turn or move them only as much as needed to keep the batch even.
Short firm sprouts are easier to plant
Sprouting can help potatoes emerge more evenly, but only when the sprouts stay short, firm, and protected. Long pale sprouts break easily during transport and planting. Weak sprouts also make it difficult to place pieces at a consistent depth.
Before planting, check whether sprouts are active but not overextended. If the batch is ready before the bed is ready, the sprouts may become fragile while waiting. The planting schedule should therefore connect sprouting, cutting, curing, and field preparation as one plan.
Match planting depth to soil condition
Seed pieces should be covered enough to stay moist and protected, but not buried so deeply that weak shoots take too long to emerge. Loose, warming soil supports faster emergence than cold, compacted, wet soil. Planting into a poorly prepared bed can cancel the advantage of careful seed treatment.
After planting, the field should be checked for crusting, uneven moisture, and slow patches. Early gaps are easier to understand when the seed batch was even and the planting depth was consistent.
Seed preparation affects later ridge checks
The seed-piece stage is connected to later hilling and bulking. Uneven emergence produces uneven plant size, which makes ridging, irrigation, and harvest timing harder to judge. A clean seed batch gives the field a more predictable start.
Once the stand is established, the potato ridge and trial dig guide explains how to check tuber development without guessing from leaves alone. That later work is much easier when the seed pieces were strong, healed, and planted on time.