You sowed beetroot carefully, one knobbly seed at each spot. Now two or three seedlings are touching at the base. That does not necessarily mean you dropped extra seed: what you sowed may have contained several seeds inside a single fruit cluster.
The next move depends on the harvest you want. A row for individually sized roots and a deliberately clump-grown baby-beet crop are different plans. Decide which one you are growing before removing plants.
One seed ball can produce several plants
Most traditional beetroot seed is multigerm. Look closely at the soil line: separate reddish stems emerging together belong to separate seedlings, not several branches of one plant. Seed sold as monogerm has one embryo per fruit, although sowing it too closely can still leave a crowded row. The University of Maryland Extension explains this distinction.
Check that the packet is for beetroot, also called table beet or garden beet. Sugar beet is a different production crop, while leaf beet and Swiss chard are grown primarily for their leaves. Their planting recommendations should not be copied into a table-beet bed.
Choose the root size before choosing the gaps
For separate, larger roots, the RHS beetroot guide recommends thinning to about 10 cm (4 in) between plants. Treat that as a home-garden starting point and check your variety's packet. A wider gap between sowing spots does not solve crowding if several seedlings remain at each spot.
For small roots, planned clusters are another option. The RHS describes growing clumps and spacing whole groups about 15 cm (6 in) apart. This is not the same as leaving an unbroken carpet of seedlings: there must still be room between groups, and the intention is to harvest smaller roots.
If you are also sorting out a densely sown carrot bed, the carrot thinning guide covers spacing along a row. With beetroot, add one extra check first: count the individual plants within each seed-ball cluster.
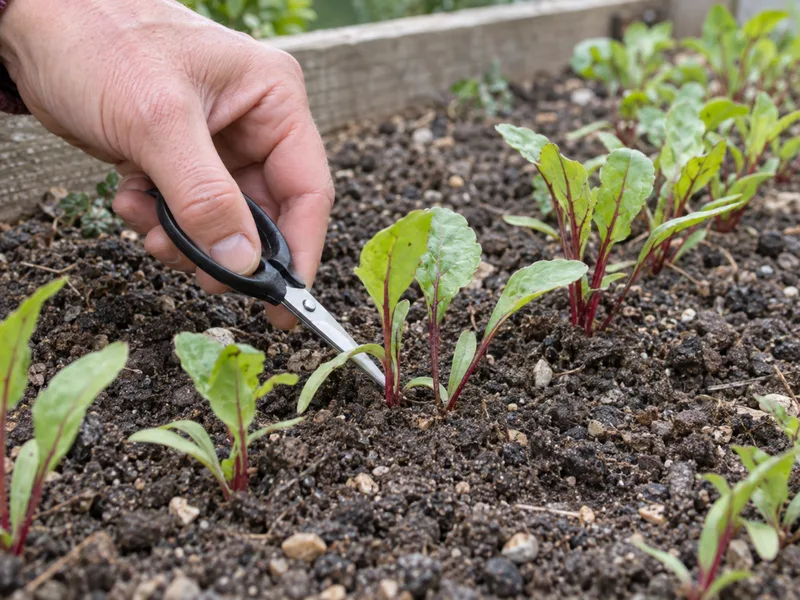
Thin a short section without loosening the keepers
Work while the seedlings are still small and you can distinguish their stems. If the bed has become a tangled mat, work on one group at a time instead of grabbing a handful. Set out small scissors and a container for the removed plants, then begin at one end.
- Find the plant to keep. Follow its stem to the soil and choose a healthy, undamaged seedling in a useful position. Do not select only by height.
- Check the nearest retained plant. Measure stem to stem along the row, not leaf tip to leaf tip. Leaves overlap before the roots have filled their space.
- Remove the competing shoot at soil level. Where stems are tightly packed, snipping avoids tugging on the neighbouring seedling. Keep the blade clear of the retained stem and its growing centre.
- Move to the next group. Recheck the gap before cutting. If you accidentally remove the intended keeper, assess the next healthy plant rather than leaving two elsewhere to compensate.
Stop if wet soil smears around your fingers or plants pull loose as a group. Return when the surface is workable. Do not press a fingertip down beside each seedling to make the row look tidy; the object is to preserve its root contact.
Afterward: check whether the root zone is drying and water gently when needed. Keep nearby weeds small and avoid deep hoeing beside the crop. These are separate jobs from thinning; neither extra water nor fertiliser creates space between crowded plants.
For planning the next bed, the root and bulb crop collection brings together more soil, spacing and harvest decisions. In this row, the immediate finish line is simpler: the seedlings you kept are still anchored, and their spacing matches the roots you intend to harvest.